Prusa MK3S+ · Volume 3
Modifications & Upgrades — The MK3S+ Ecosystem, and Two Modified Units
3.1 Why the MK3S+ is a modifier’s machine
Few printers invite modification the way the MK3S+ does. Part of it is philosophy: the design, firmware, and print profiles are open, so nothing about the machine is a locked black box. Part of it is the community: a decade of i3 and MK3 users have designed, tested, and freely published thousands of upgrades, from a five-minute printed clip to a complete frame replacement. And part of it is simple practicality: because the machine is so well understood and its parts are all individually available, a modification that goes wrong is always recoverable. The machine’s own print bed is, conveniently, an excellent tool for making its own upgrades — a great many MK3S+ mods are parts the printer prints for itself.
This volume surveys that ecosystem accurately as a set of general engineering options, so that the two heavily-modified machines in this shop can be understood against the landscape of what MK3S+ owners commonly do. The specifics of this shop’s two printers — exactly which of these paths each has taken, and what has been done beyond them — are being documented separately, and are marked below with clearly-labelled slots for the parts and photographs still to come. Nothing here should be read as a claim about the owner’s particular builds; it is the map, not the territory.
3.2 Enclosures — the highest-value upgrade for engineering plastics
The single modification that most expands what an MK3S+ can do is an enclosure. The stock machine is open-framed, and that is fine for the low-temperature plastics that do not mind a draught. But the engineering plastics that make a printer genuinely useful for functional shop parts — ABS and ASA in particular — shrink as they cool, and if different layers of a tall print cool at different rates the part warps, curling off the bed or splitting along a layer line partway up. The cure is a stable, warm, draught-free environment around the print: an enclosure.
An enclosure does several things at once. It holds the air around the print warm and still, so the whole part cools slowly and evenly and warping is suppressed. It contains the mildly unpleasant fumes that ABS and ASA give off, which can be ducted away or filtered. It muffles the machine’s remaining noise. And it protects the print from cats, curious hands, and cold rooms. For ABS and ASA specifically it is close to mandatory; for the everyday plastics it is a nice-to-have.
The options span a wide range. At the simple end are the well-known flat-pack solutions — the Ikea Lack-table enclosure, a folk-classic built from cheap side tables and acrylic panels, and various commercial tent and cabinet enclosures. At the involved end are purpose-built cabinets with active temperature control, filtration, and lighting. Prusa itself eventually sold an official enclosure for the machine. One important caveat the community learned the hard way: the MK3S+‘s own electronics and some of its printed plastic parts do not love sustained high heat, so a well-designed enclosure keeps the print chamber warm while venting or shielding the mainboard and power supply — a genuinely enclosed, temperature-controlled build is an engineering exercise in its own right, not just a box.
3.3 Aftermarket frames — the Bear and its cousins
A more thorough class of modification replaces or reinforces the machine’s structure. The best-known is the Prusa Bear upgrade, a community project (Bear Framework / “Prusa Bear”) that replaces the folded-sheet aluminium frame and some printed parts with a stiffer aluminium-extrusion frame and revised motion parts. The stated goals are increased rigidity, easier access, and improved geometry — reducing frame flex and Z-axis binding — and the project publishes both the parts and detailed instructions. It is a substantial undertaking, effectively a partial rebuild of the machine, and it is popular precisely with the kind of owner who has already assembled the machine once and is comfortable inside it.
Related structural mods are more modest: reinforced or reprinted extruder bodies, upgraded Z-axis anti-backlash arrangements, improved Y-carriage plates (a machined aluminium Y plate in place of the stock one is a common stiffness upgrade), and various printed braces. Each chips away at the mechanical compromises of the bed-slinger layout. None of them turns an i3 into a CoreXY machine, but collectively they tighten up a well-used unit and are exactly the sort of thing a shop with a second identical printer can experiment with on one machine while the other keeps working.
3.4 Hotend and nozzle changes — hardened steel and larger bores
The stock hotend ships with a 0.4 mm brass nozzle, which is the right default: brass conducts heat well and 0.4 mm is a good balance of detail and speed. But two changes are extremely common, and both are cheap because the hotend is E3D V6-compatible and the ecosystem of nozzles is enormous.
The first is nozzle material. Brass is soft, and abrasive filaments — the carbon-fibre- and glass-fibre-filled composites, glow-in-the-dark filaments loaded with grit, and metal-filled filaments — wear a brass nozzle’s bore out of round in a shockingly short time, ruining print quality. The fix is a hardened steel or ruby-tipped nozzle, which shrugs off the abrasion at the cost of slightly worse heat conduction. Any shop that prints composite filaments for stronger functional parts will fit one.
The second is nozzle diameter. Swapping the 0.4 mm nozzle for a larger 0.6 mm or 0.8 mm nozzle lets the machine lay down wider, thicker beads and thus print noticeably faster, at the cost of fine detail — ideal for big, chunky functional parts, jigs, and fixtures where surface finish matters less than turnaround. Going the other way, a 0.25 mm nozzle buys extra fine detail for small, intricate models at the cost of speed. Because changing a nozzle is a ten-minute job (heat up, unscrew, swap, reset the Live Z offset), matching the nozzle to the job is a routine rather than a commitment. Full all-metal and higher-flow hotend upgrades exist too, extending the temperature range and throughput beyond the stock assembly.
3.5 Sheets, dampers, lighting, and the small quality-of-life mods
Beyond the headline upgrades sits a long tail of small, cheap modifications that owners accumulate. The interchangeable spring-steel sheets covered in the previous volume are themselves the most-used “mod”: keeping a smooth, a satin, and a textured sheet on hand and swapping to suit the material and the finish is standard practice. Stepper dampers — small rubber-and-metal isolators fitted between a stepper motor and the frame — further quiet the machine and can reduce fine vibration artefacts, though they must be used judiciously as they slightly reduce effective travel. LED lighting inside an enclosure or over the bed makes monitoring and the increasingly popular practice of time-lapse filming far easier. Printed cable management, spool holders, tool caddies, fan-duct redesigns for better part cooling, and endless small bracketry round out the list — most of them printed by the machine itself from freely-published designs on the Prusa community model site and elsewhere.
3.6 Multi-material — the MMU
One first-party upgrade deserves its own mention because it changes what the machine is: the Multi-Material Upgrade, sold across the MK3 generation as the MMU2S and later the MMU3. The stock MK3S+ prints one filament per job. The MMU is a unit that sits atop the printer and selects between (typically) five filament spools, loading and unloading them into the single extruder on command so that one print can use multiple colours or multiple materials — most powerfully, a model material paired with a dissolvable support material (such as PVA) that washes away to leave clean overhangs no breakaway support could match.
The MMU is not free performance. It works by swapping filaments through the one nozzle, so every colour change means retracting one filament, feeding the next, and purging the old colour out of the melt zone — which costs time and produces a “purge tower” or wipe of wasted plastic beside the part. It is also, by community consensus, the fussiest thing one can bolt to an MK3S+: the filament-path tuning and reliability that make single-material Prusa printing so trouble-free are harder to achieve when five filaments are being shuffled through one hotend, and the MMU has a reputation for needing patience to dial in (the MMU3 revision notably improved this). For a shop it is a specialised capability — invaluable when a job genuinely needs two materials or soluble supports, overkill when it does not. Whether either machine here carries one is part of the owner’s-build story still to be documented.
3.7 Network and remote control — OctoPrint and the modern options
Out of the box, the MK3S+ prints from an SD card: slice on a computer, copy the G-code to the card, carry it to the machine, and select the file on the LCD knob-menu. That works, but for a shop running long jobs — or two machines at once — remote monitoring and control is a transformative addition, and the classic answer is OctoPrint.
OctoPrint is free, open-source software, typically run on a small single-board computer such as a Raspberry Pi connected to the printer over USB. It puts a full web interface on the network: upload and start prints from any browser, watch a live webcam feed, monitor temperatures and progress, adjust settings mid-print, receive alerts, run time-lapses, and extend everything through a large library of community plugins. For a shop, the ability to see at a glance whether both printers are still running — and to start the next job without walking over to the bench — is a genuine workflow change, not a gimmick. Prusa historically sold a small “Einsy” connector kit and mounting to integrate a Pi cleanly with the MK3S+.
Prusa’s own Prusa Connect and PrusaLink later provided a first-party route to the same idea — network monitoring and job upload — again typically via a Raspberry Pi bridge on the MK3S+ (native networking arrived with the 32-bit MK4). Whichever route is chosen, the effect is the same: the printers stop being islands reachable only at the bench and become networked tools in the shop.
3.8 The upgrade path to the MK4
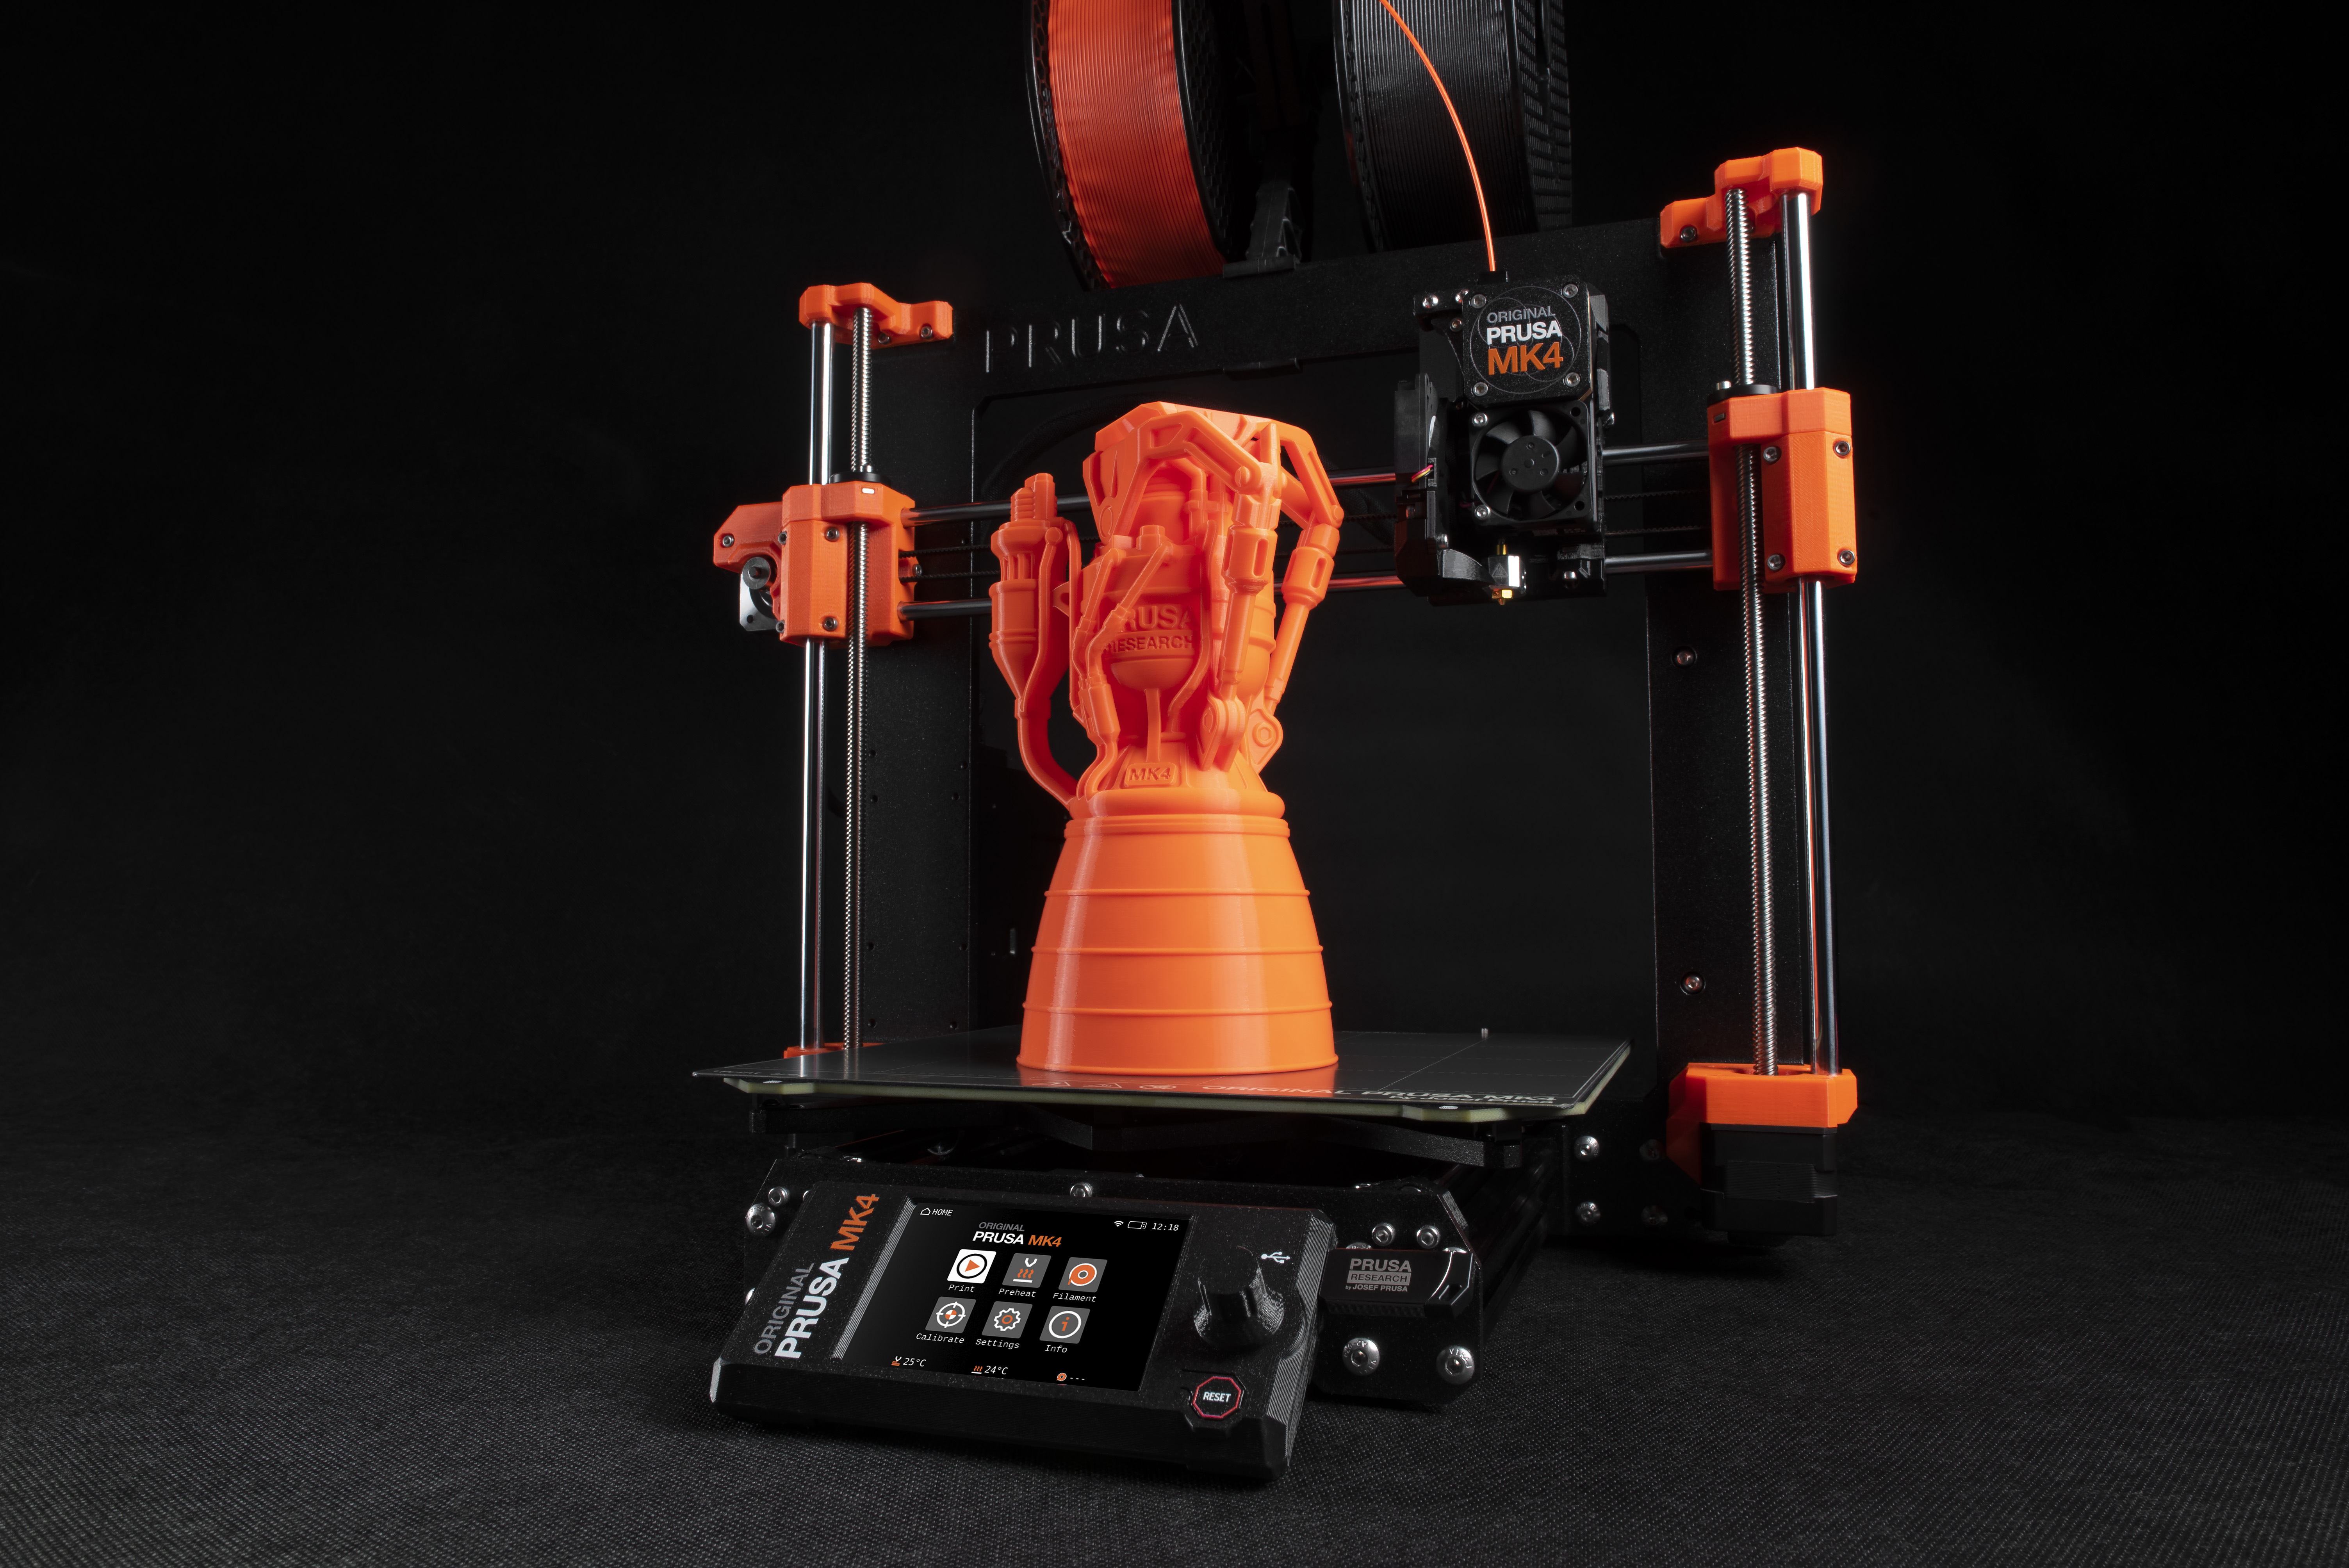
The most significant “modification” of all is not a part but a platform change: Prusa sells an official MK3S+ → MK4 upgrade kit that converts an existing MK3S+ into a current MK4 by reusing the frame and much of the structure while replacing the electronics, the extruder (the geared “Nextruder” with a load-cell sensor), the display, and the motion components. The upgrade brings 32-bit xBuddy electronics, a colour screen, native networking, input shaping for genuinely faster printing, and load-cell-based automatic first-layer calibration that removes the manual Live-Z step entirely. It is, in effect, a way to bring a MK3S+ up to the modern generation without discarding it.
Whether to take that path is a real decision for a shop that owns two MK3S+ units. Upgrading buys speed and modern convenience; not upgrading keeps the machine on the mature, endlessly-documented, thoroughly-understood MK3S+ platform that these volumes describe — a platform whose every quirk is known and whose every part is cheap and available. There is no wrong answer, only a trade between modernity and familiarity. It is enough here to note that the option exists and that the base machine is designed to be carried forward rather than thrown away.
3.9 The mod map, and the two machines in this shop
It helps to see the ecosystem as a whole: a small set of high-value modifications (enclosure, network control, hotend and sheet choices) that almost every serious owner makes, and a larger field of deeper or more specialised ones (frame rebuilds, dampers, platform upgrades) chosen according to what the machine is for.
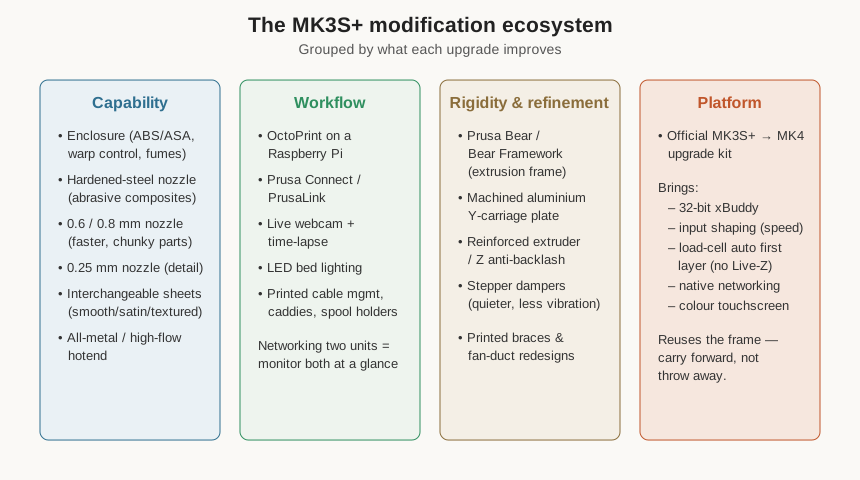
Against this map sit the shop’s two heavily-modified MK3S+ units. Running two identical machines is itself a deliberate strategy: it doubles throughput on long jobs, lets one machine keep working while the other is being modified or repaired, and provides a known-good reference when one drifts. Exactly which of the modifications above each printer has received — enclosures, hotend and nozzle configurations, network control, structural upgrades, and whatever bespoke changes the owner has made beyond the common catalogue — is being documented separately, with photographs of the actual hardware to follow. The two slots left open in this volume are where those specific builds will be shown; until then, this survey stands as the accurate general picture of what a modified MK3S+ can be, and the next volume turns from the hardware to the software and process that actually turns a 3D model into a printed part.
Comments (0)